Let's transplant tomatoes in a larger pot
Follow along with my weekend project: Transplanting my tomato seedlings from its growing pot to a large planter. In this planter, they'll have enough space to grow large and strong, giving me lots of amazing tomatoes.
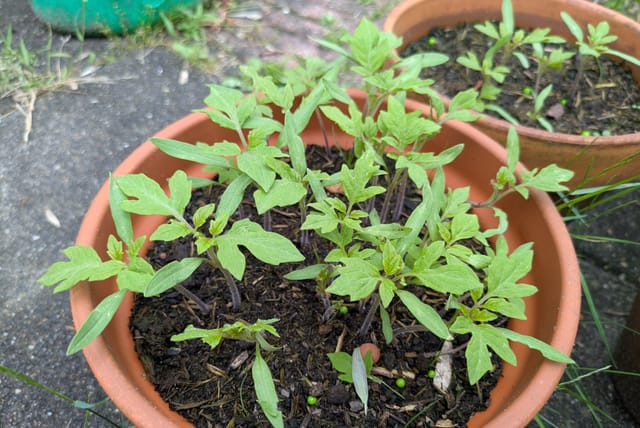
It's almost summer and, for me, that means I finally get to grow my own tomatoes again! This is the third year I'm growing tomatoes and so far, it's going very well! In the image above, you'll see the tomatoes at the beginning of June. I've grown them from seed and started with them at the beginning of May.
However, tomato plants grow fast and become large, so growing them in the pot was always temporary. I knew I had to give them more space sooner or later.
So, on a cloudy sunday, I made the plan that today was the day I gave these amazing fruits a bigger growing environment.
Picking the right planters
Step 1 of giving these tomato plants more space, was to get some planters. Last year, we moved into a new house (which is why I've been so inactive), so we finally have the space to take on larger planting projects like this. My eye fell on these identical, rectangular planters. They were long, wide, but above all, deep enough.
Tomato plants have large root systems that want to grow into the soil. There is a very simple explanation for this, it's because they'll be top-heavy with fruit. So they should be able to grow deep enough to stay stable. These planters were perfect for it! Another nice benefit for me, as a true Dutch person, they were discounted!
What you'll need for this project
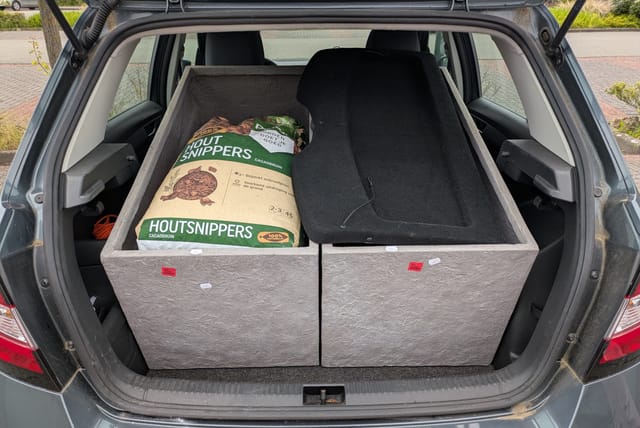
So I found the right planters, but that's not all you'l need to get the same result. You'll need soil as well and lots of it. Good, organic soil. I've included 2 extra things: Wood chips and perlite, but these are optional. I prefer using wood chips, because it prevents the moisture from evaporating too much when the sun is shining. The perlite is there to give the soil some extra drainage, but is definitely not strictly necessary. Plain soil will do the trick as well.
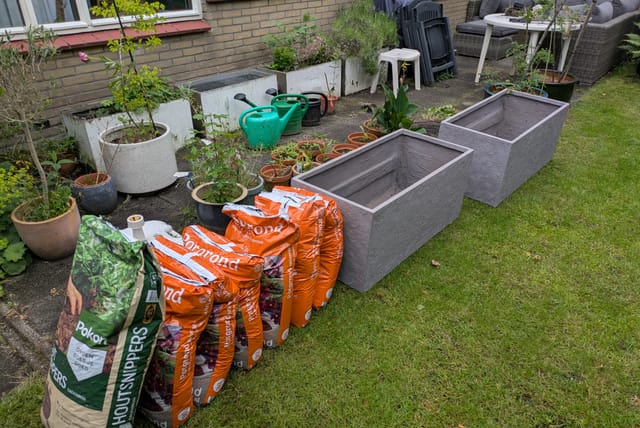
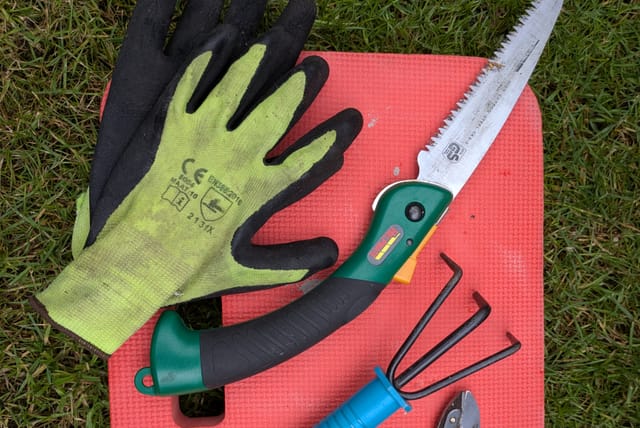
So there I was with the planters, soil, and wood chips! To make things a little more comfortable for yourself, you can also use a little rake, gloves, and something to rest your knees on when you start planting your tomato seedlings.
Because these planters are quite deep, I'm also using branches and blocks of wood out of my garden to sit at the bottom of the planters. This helps to fill up the planters, without needing a lot more soil. They will break down over time and will release their nutrients into the soil, so it's a great way to help feed your plants as well.
Filling the planters
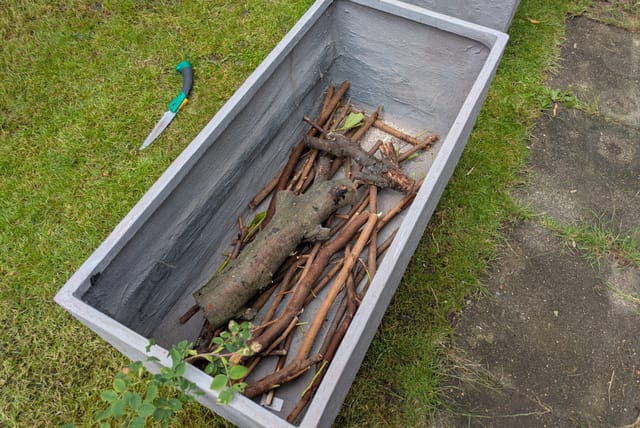
Like I mentioned before, I'm using branches and blocks of wood at the bottom of the planter to help fill up the planter a bit. These branches will break down over time, so it's a great way to use garden waste to feed your new plants. You can, of course, also just use soil. Using branches was my way to get rid of some garden waste, but is not a requirement to grow tomatoes.
Then, we'll add the first layer of soil, right on top of the wooden branches.
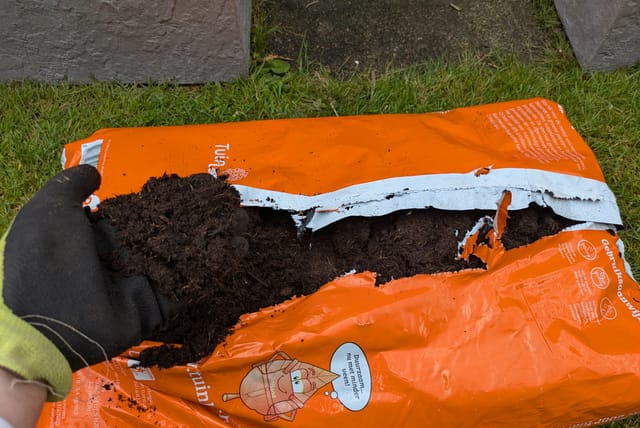
Tomato plants are very hungry plants, they need a lot of nutrients to grow their fruits, so I'm using a nutrient-rich potting soil. This contains lots of organic material and will keep the tomato plants fed throughout the summer.
I've added a thick layer of this on top of the branches and then followed it up by adding a good amount of perlite.
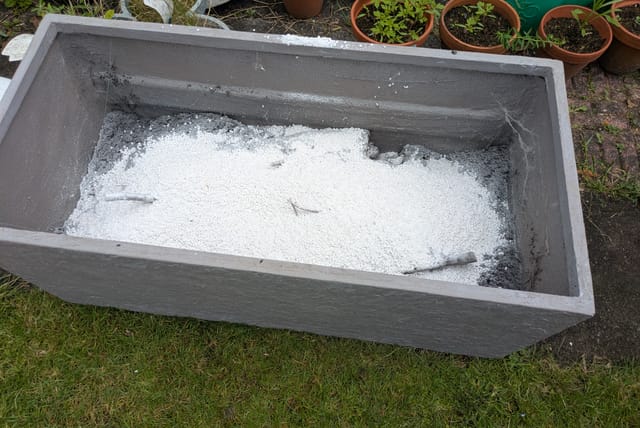
If you're also adding perlite to your planter, make sure to wear a dust mask. This stuff is incredibly dusty and will get in your nose and throat. I don't have a precise amount of perlite that you'll need to add, unfortunately. I made sure to cover most of the soil with a thin layer, like in the photo above.
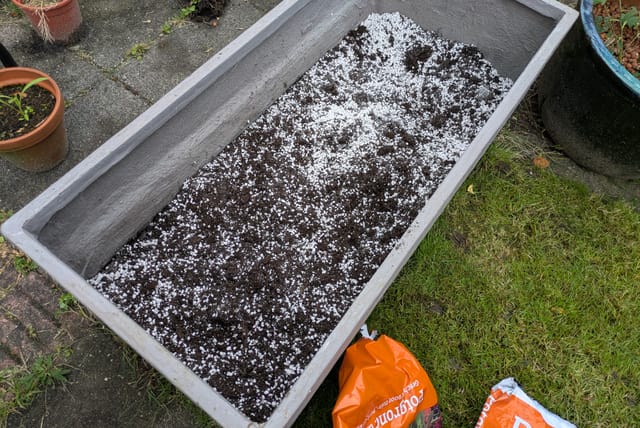
After adding the perlite, it's time to mix it with the soil. Again, make sure to wear a mask. By mixing the soil with the perlite, I make sure that the soil has enough drainage. These planters have drainage holes, so any excess moisture will eventually drain out of the planter and will prevent root rot.
These plants are out in the open air after all, so rain will fall in these planters and there is a lot of organic soil in there that will want to hold onto this moisture. The perlite helps to prevent clumping and keeps the soil light and airy.
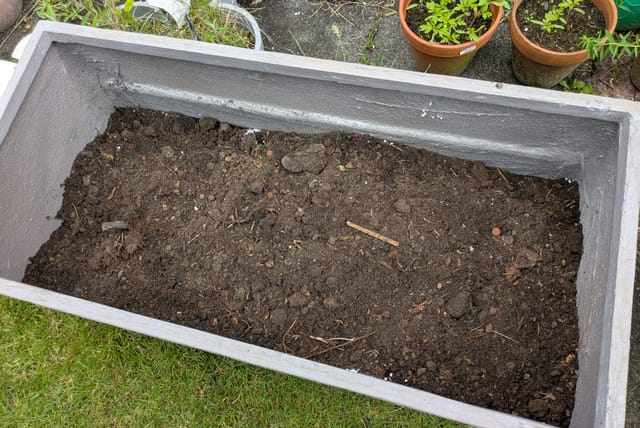
After adding this layer with soil and perlite, I added a thick layer of compost. This is also an optional step. I have a compost bin which was overfull, so I decided to use a lot of this broken-down garden material from the past year to help fill the planter.
This layer of compost should also help keep the tomato plants fed throughout the summer. After this compost layer, I've repeated the soil + perlite layer to finish filling the planter. Make sure to leave some space between the top layer of the soil and the top of the planter, because this prevents moisture from just flowing out of the planter when it's raining.
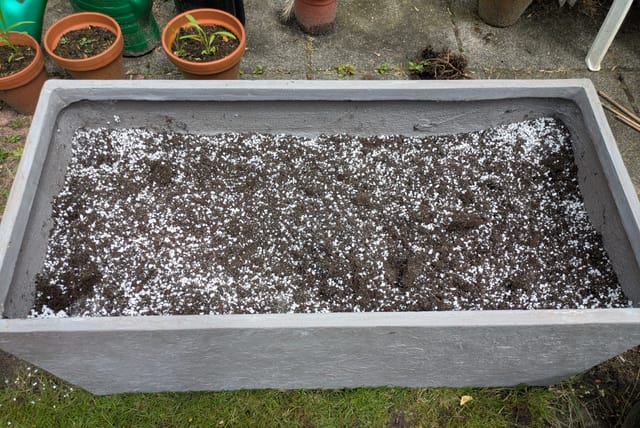
And here you see the result. A lot of soil, perlite, and compost to fill a planter. There is still a good gap between the soil and the top of the planter.
Splitting up the tomato plants
When you've got many tomato plants growing in the same pot, you'll see their root systems interlocking.
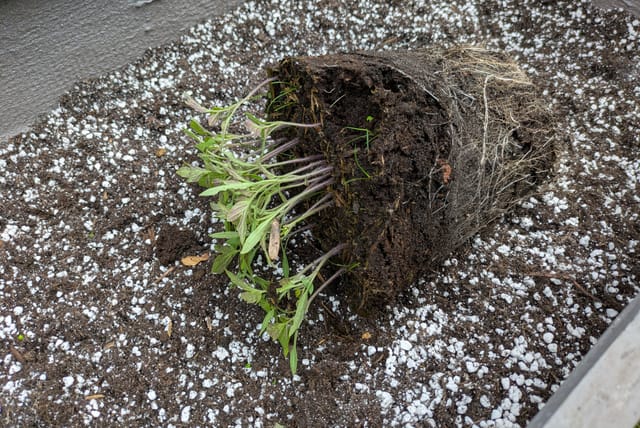
This might seem intimidating, but these individual plants are actually quite easy to separate. As long as you carefully split these plants up, you won't hurt the plant.
When looking at spacing these plants out, you'll need about 10-20cm of space around the plant. This seedling looks small now, but they'll grow large very quickly.
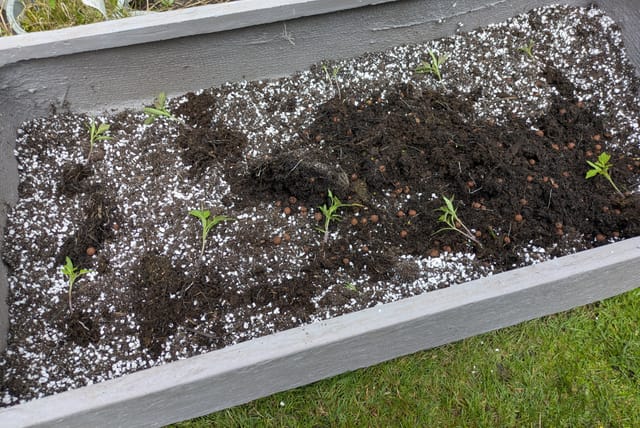
After separating the seedlings, it's a good idea to put them in the planter where you'll end up planting them. This helps you to plan out the layout and will prevent space problems later on.
Planting the tomato plants
Planting the tomato plants is easy: Dig a little hole, put the seedling in that hole, and backfill the hole with the soil. After you've added the soil back around the seedling, carefully press down on the soil to compress the soil around the seedling. This will keep the plant in place and gives it a stable growing environment.
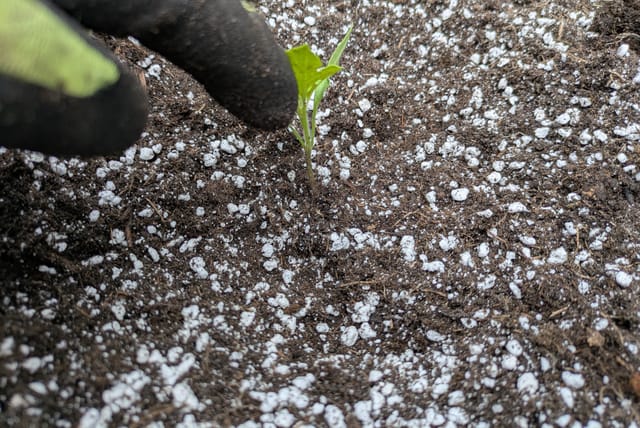
One important thing to keep in mind: Make sure the leaves aren't touching the soil. The leaves will start to rot and this could compromise the seedling. If this does happen, either remove the bottom leaves, or try to plant the tomato plant a little less deep.
A cure against slugs
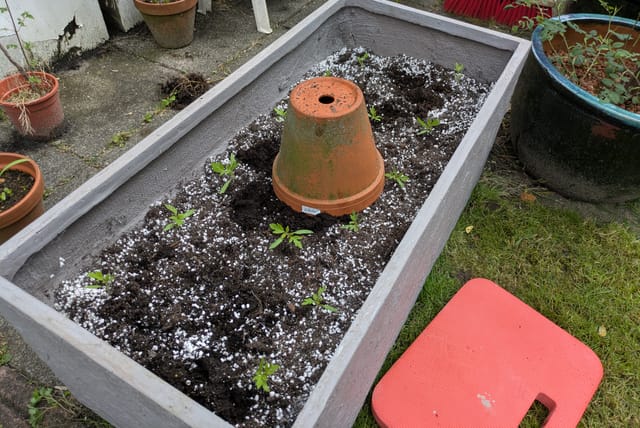
If you've grown tomato plants before, you'll know that slugs absolutely love these plants. You will see slugs around these plants. Last year, I saw someone using upside down pots in the planter to give the slugs a place to go, away from the sun. This supposedly keeps the slugs from going to your plants, and rather go to the pot.
I have no idea if this works, but in the past week, between me transplanting these tomato plants and writing this article, I have caught and removed several slugs from the pot and the plants seem to be fine. So there seems to be something to this idea.
Finishing the project
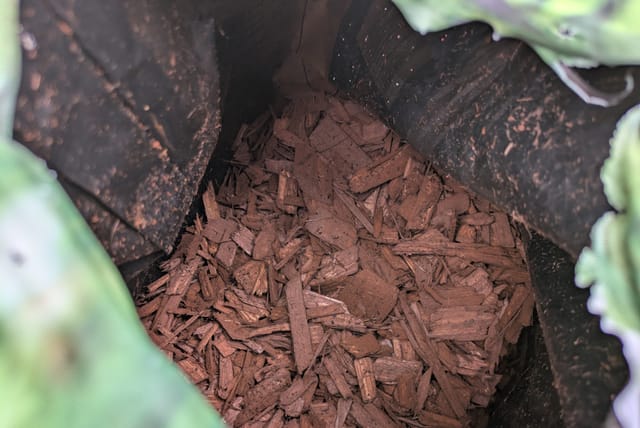
One last thing I like to do to fruiting plants in my garden, is to cover all soil with wood chips. This has 2 reasons:
- It looks good
- It prevents the moisture from evaporating from the soil when the sun is shining
These wood chips make these tomatoes a very low-maintenance plant during the spring and summer. You rarely have to water these plants. Of course, during the hot summer, you'll have to water these plants if there is no rain, but not daily.
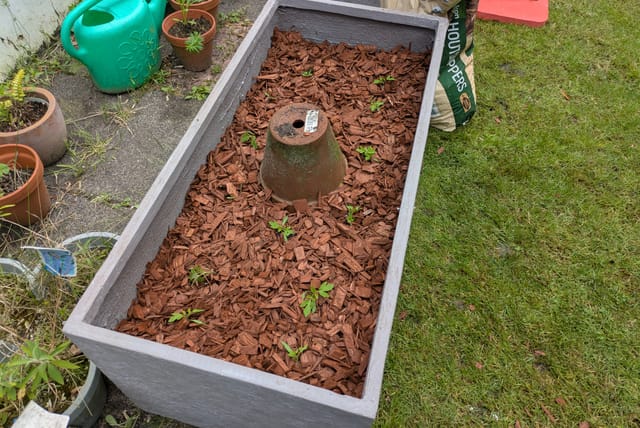
And there is the final result! I'm very happy with how this turned out and I hope you've learned something new, or just found this interesting. I'll report back when it's harvest time!
Thank you for reading this post! I hope it helps you to keep your plants healthy and beautiful! If you're looking for more guides on specific plants, you can always request a plant guide to get a guide for the plant you have trouble with.